

Getting Started
This guide walks you through installing Hey Listen and getting your first alert.
1. Install and Launch
Download Hey Listen from the Mac App Store and open it. Hey Listen runs entirely from your menu bar — there is no dock icon. After launch, look for the bell icon in the top-right corner of your screen.
![]()
Click the icon to open the menu. The first time you launch, Settings will open automatically so you can finish setup.
2. Grant Calendar Access
Open Settings → Calendars. If Hey Listen hasn’t been granted access to your calendars yet, you’ll see an orange “Not Requested” status with a Continue button.
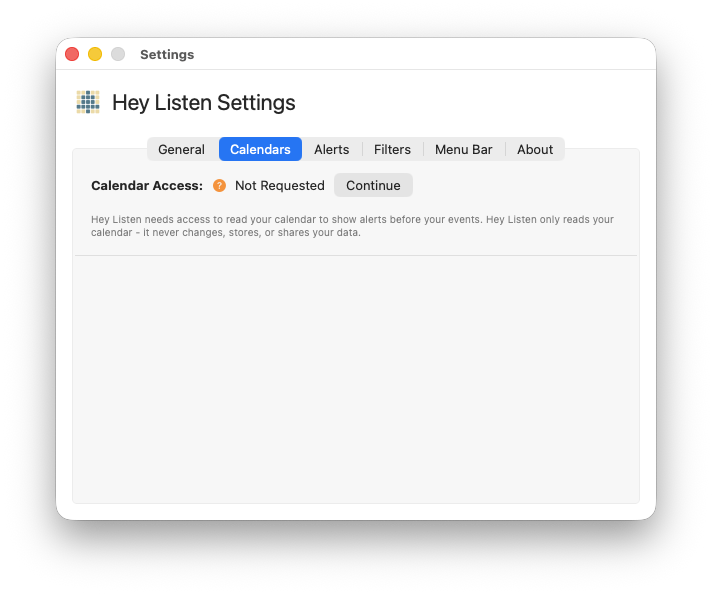
Click Continue. macOS will show a system permission prompt — click Allow.
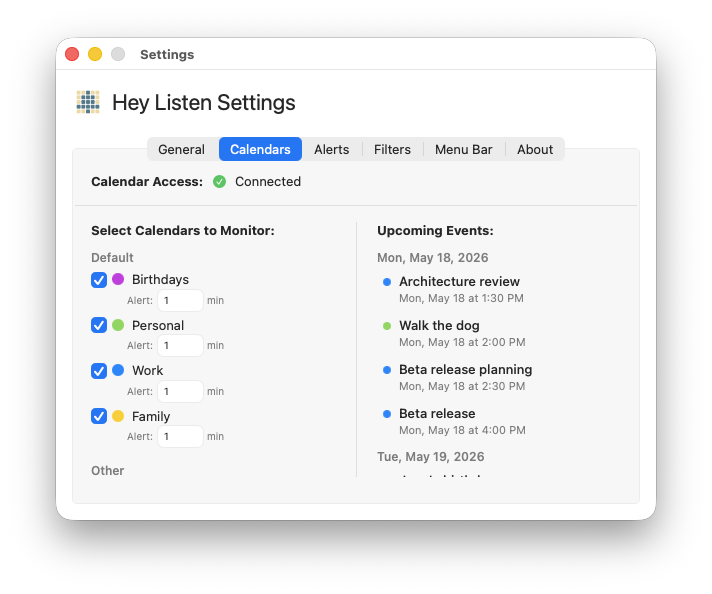
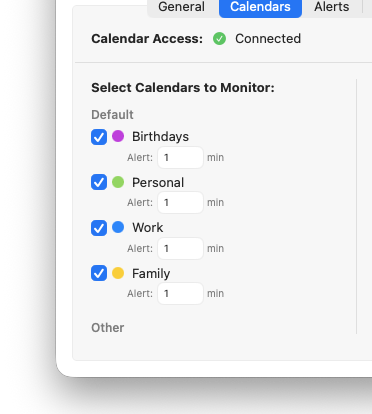
Once access is granted, the status changes to a green “Connected” indicator.
If you previously denied access, the status shows a red “Denied” indicator. Click Open System Settings and enable Hey Listen under Privacy & Security → Calendars.
3. Select Your Calendars
After connecting, a list of all your calendars appears, grouped by account (iCloud, Google, Outlook, and so on). Toggle on the calendars you want alerts for.
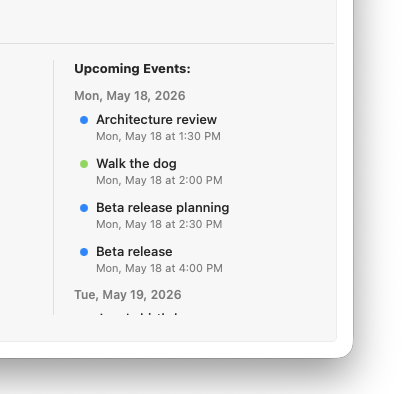
The right side of the tab shows a live preview of upcoming events from your selected calendars, so you can confirm you’ve picked the right ones.
4. Set Your Alert Timing
Open Settings → Alerts. The first field controls how many minutes before an event the alert appears. You can type a number or use the stepper arrows.
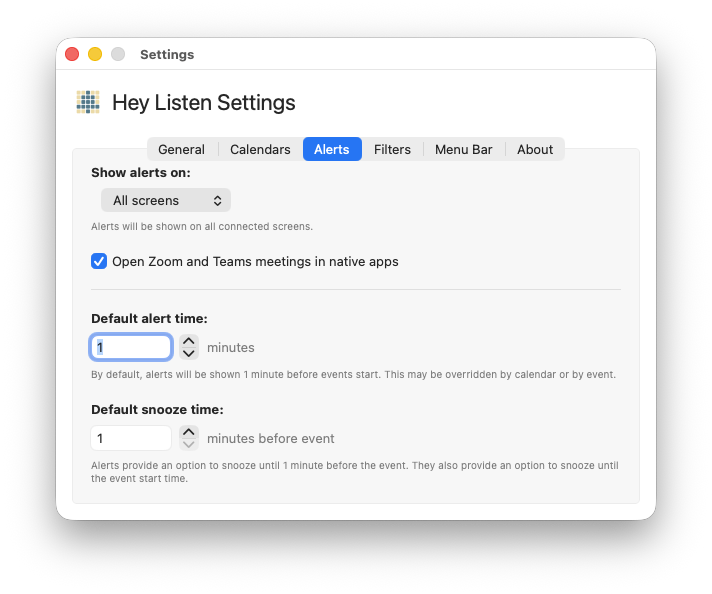
You can also set a different alert time per calendar in Settings → Calendars, and override the timing for individual events or recurring series directly from the menu bar. See Alerts for the full priority order.
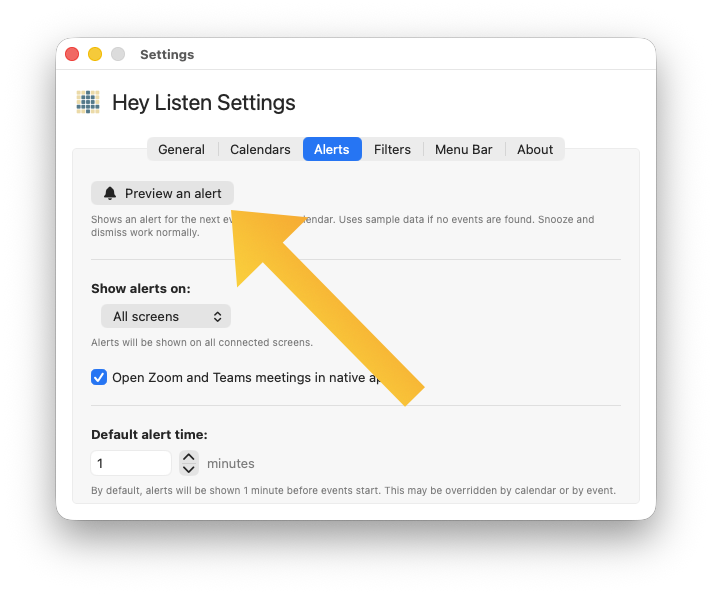
5. Preview an Alert
Still in Settings → Alerts, click Preview an alert to see exactly what an alert looks like before your next real event. Snooze and dismiss work normally in the preview.

6. You’re Set
Hey Listen now runs in the background. When a calendar event is coming up, a full-screen alert will appear at your configured lead time.
What happens next:
- The alert shows the event title, start time, and a countdown.
- If the event has a meeting link, a Join Meeting button appears.
- You can snooze for a few minutes, snooze until just before the event, or dismiss.
- If your Mac was asleep when an alert was due, it fires as soon as you wake up (as long as the event hasn’t ended).